
DFP allows publishers to run header bidding using Prebid.js. For the uninitiated, Prebid is an open-source header bidding wrapper and DFP is an ad server by Google that is now rebranded as Google Ad Manager.
Using DFP, publishers can set up Prebid and conduct header bidding via line item setup. With its user-friendly interface and a reporting dashboard that supports key-value pairs, publishers can customize the auction and see detailed reports, all using a single interface.
In this post, we’ll list the steps used to setup Prebid in DFP. We have also added common header bidding setup mistakes and ways to avoid them.
Steps to Setup DFP for Prebid
Start by creating a new order in your DFP dashboard, give an appropriate name to this order such as ‘Prebid’ and choose the Advertiser as well. After that, you can get started with the following steps:
Step 1: Add a Line Item
- Create a line item and give it a name that is easily recognizable by you during future use.
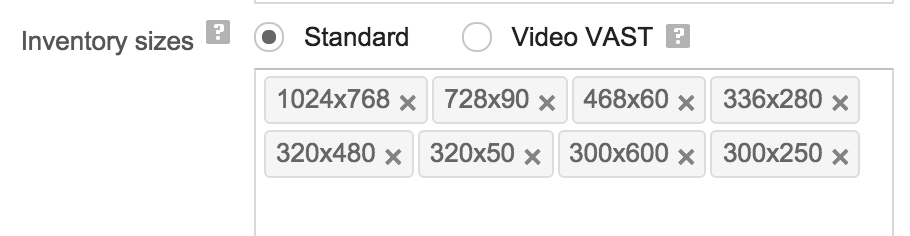
- Next, add all the ad unit sizes your inventory has.
- Set the line item Type to Price Priority, this will make sure that demand partners compete for your inventory.
- Add the CPM rate you want for your inventory like $0.50.
- Set Display Creative to One and More and Rotate Creative to Evenly.
- Once you are done with the customization, click on the Save button.
Note: To avoid any misunderstanding with the key (price) values, add it with two decimal places, such as $1.00.
Step 2: Add a Creative
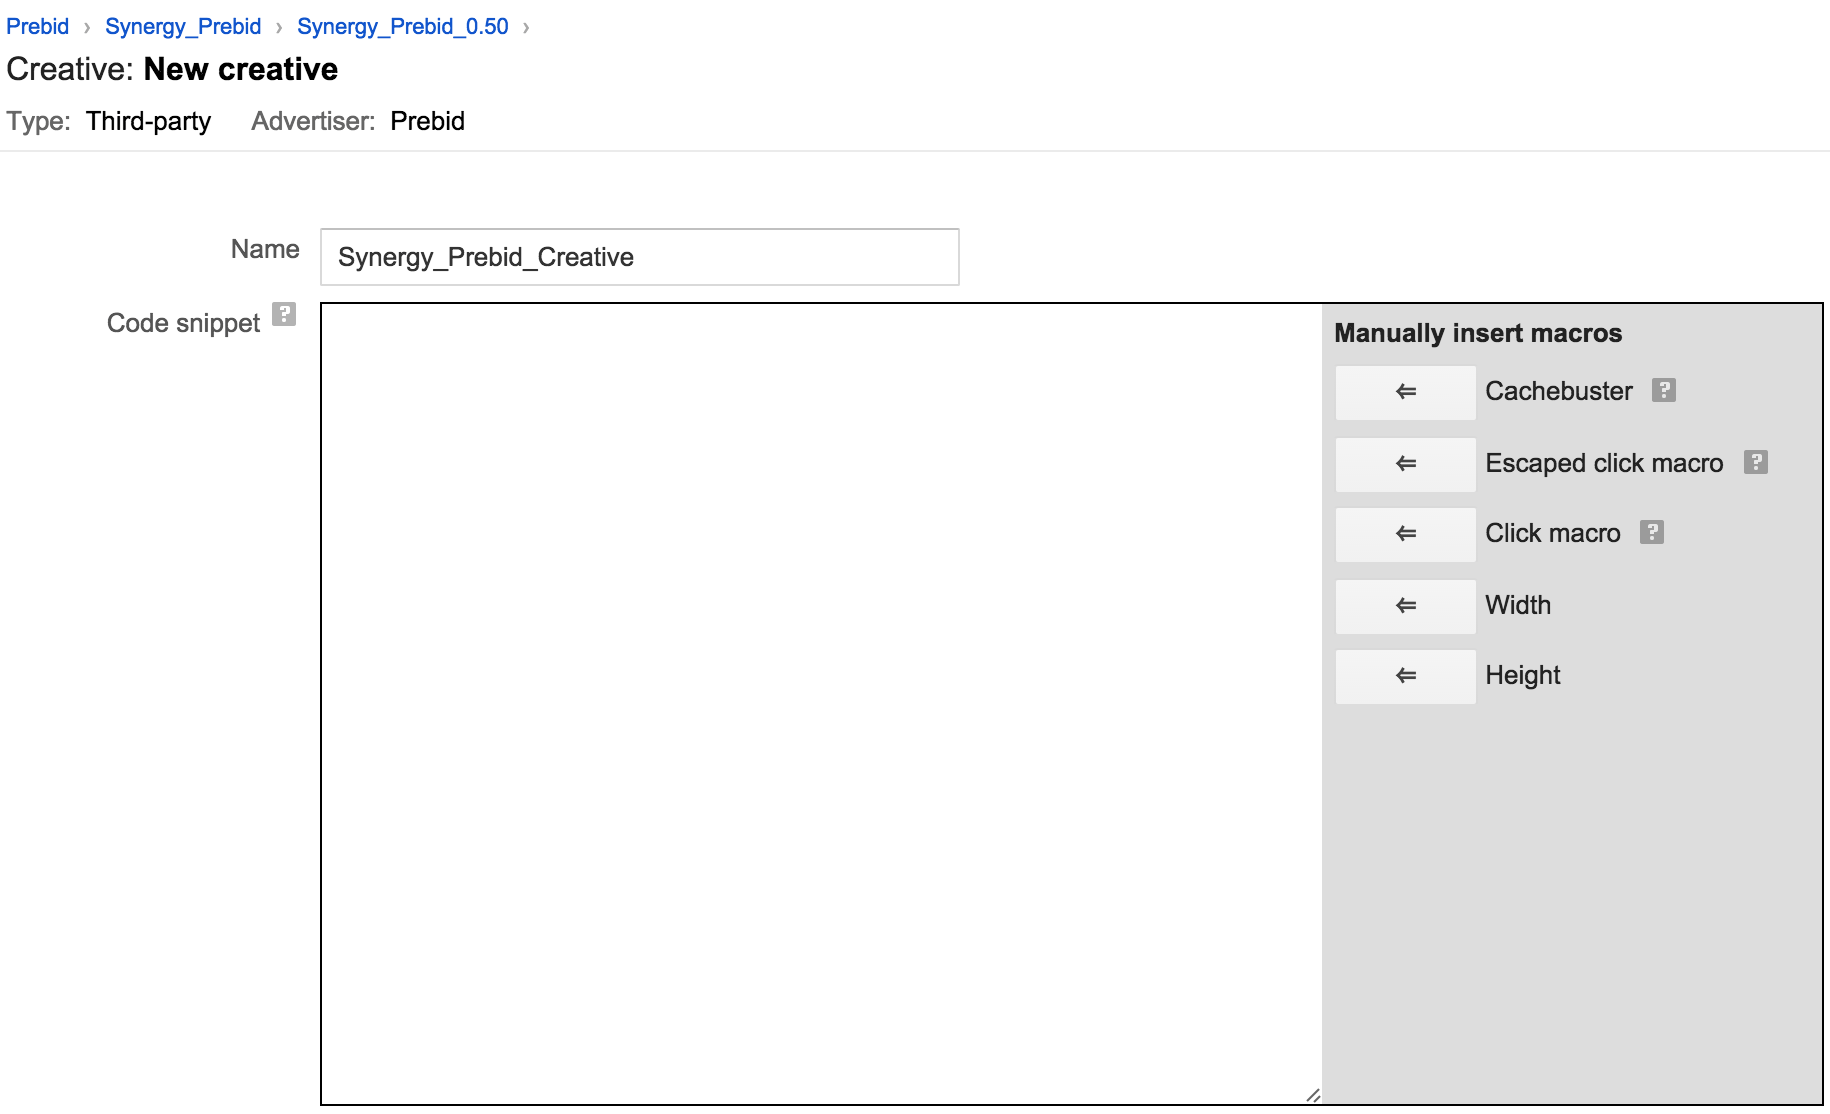
- Next, click on Creative > Add creatives.
- Choose Prebid as Advertiser and click on Third-party creative.
- In the code snippet box, copy and paste the code Prebid creative code.
- Save the creative and move back to the Prebid line item created in the above step.
- Attach the new creative to the line item.
Previously, Prebid had different creative codes for display and video ads. However now, they have updated their technology to provide a universal code that supports both display and video ads. Also, do check Prebid.org to find out if there is a new update available.
Step 3: Duplicate Line Items
Once you have attached the creative(s) to the line item, it’s time to duplicate the line item. Make sure you change the CPM rate of the line items while duplicating them as per your granularity demand.
With the completion of this step, you have successfully configured Prebid using DFP. It can be cumbersome to create and manage line items. Hence, some publishers hire dedicated ad ops teams to manage header bidding for their inventory.
Common Mistakes to Avoid
Header bidding is complex. And troubleshooting an already running auction can be a nightmare. However, you can start by avoiding these common mistakes:
1. Not Updating the Line Items
Changes and tweaks are parts of running a profitable header auction. And hence, publishers need to keep on their ad testing. This includes making changes to the existing line items based on prebid docs, this is because the open source community keeps adding optimization features.
2. Not Aware of Line Item Priority
If you set Prebid line item at a lower priority (thank AdX), then Prebid might not get the chance to run the auction. This is because the line item with higher priority will take the impression. Use Google Publisher Console to find the line items at a higher priority than Prebid and lower them, if you want Prebid to access the impression before other line items set using DFP. Generally, it’s the best practice to run them through price priority.
3. Not Naming Creatives and Line Items Properly
While running a header bidding auction using Prebid, you will create hundreds of line items with different CPM and creatives. Suppose you name line items as ‘Line item 1, Line item 2, and so on’, then you may not remember the specifications of these line items later. Instead, give them appropriate and elaborate naming convention such as ‘Prebid_1.0’. The same logic applies to while assigning creatives using DFP. This might sound like a small thing but saves a lot of time during testing and updates.
4. Not Optimizing Price Granularity Settings
Suppose you set $0.50 price granularity and receive a bid of $0.40, then the ad server, DFP, will see it as $0.00 (zero) and will not serve any ad. Meaning, your ad unit will end up earning less for an available impression, minimizing your profit from these specific ad units. Hence, choose your floor price and granularity settings carefully, constantly analyzing the bid ranges report under DFP.
5. Not Tracking the Performance
A systematic reporting and analysis of the auction can provide a better understanding of the ongoing auction and provide the scope of improvement. Generate elaborate reports and segment them based on rate metrics (such as RPM, CPM, CPC, etc), fill rate, win rate, and bid rate, segregating by ad size and more depending on your requirements.
Pro tip: Take help of the browser extension—Headerbid Expert by Prebid.org available for Chrome. Using this extension, you can check the performance of the header auction running on your inventory and make necessary improvements, after the Prebid-DFP setup.

Shubham is a digital marketer with rich experience working in the advertisement technology industry. He has vast experience in the programmatic industry, driving business strategy and scaling functions including but not limited to growth and marketing, Operations, process optimization, and Sales.